Quickstart#
Setup#
For Sphinx and automation, you will need Python and two Python tools:
Copier: scaffolding tool that will generate from this template a Sphinx theme on your disk
Nox: automation tool for easier building docs from project sources
The recommended way to install and run is using the uv tool. The uv can even install Python for you if you don’t have it already.
You will also need Node.js and npm tool installed. Sphinx themes are basically websites, and this template comes preconfigured for development with Tailwind CSS, a Node.js based tool. Additionally, a few developer tools preconfigured are Node.js based, such as those for formatting and linting.
-
See also
See Copier docs and Nox docs for other installation options if uv is not suitable for you.
Install Node.js and npm. We recommend you LTS version.
Tutorial#
Answer questions. Open the terminal, choose a destination folder (use
.for current), and follow the wizard. E.g.,:uvx copier copy gh:documatt/sphinx-theme-template sphinx-my-theme
This command will install and call Copier.
Examine the template. A new shiny folder, e.g.,
sphinx-my-theme, with a Sphinx theme, has been created for you.$ cd sphinx-my-theme $ tree . ├── sample_docs/ │ ├── source/ │ │ ├── conf.py │ │ ├── index.rst | | └── ... │ └── pyproject.toml ├── src/ │ └── sphinx_my_theme/ │ ├── locales/ │ ├── static/ │ │ ├── icons/ │ │ ├── scripts/ │ │ ├── styles/ │ │ │ └── input.css │ ├── __init__.py │ ├── domainindex.html │ ├── genindex.html │ ├── layout.html │ ├── opensearch.xml │ ├── page.html │ ├── search.html │ ├── theme.toml │ └── toc.py ├── tests │ ├── test_sample.py │ └── test_toc.py ├── CHANGELOG.md ├── README.md ├── noxfile.py ├── package-lock.json ├── package.json ├── pyproject.toml ├── tailwind.config.js └── uv.lock
Examine
noxfile.py. This file is read by the Nox tool and contains common tasks such as a “build HTML”, “preview”, etc.Some tasks are just simple commands, but others like build and preview requires a series of operations, including installing dependencies, copying files, etc. With Nox, we will run these complex scripts with just
nox -s <task>command.Build the theme. Building a theme actually means
build frontend assets with Node.js
build sample Sphinx documentation with a theme
Both steps are handled by Nox tasks.
For example, to build, let’s
cdto just created folder and runnox -s build. Because you have uv installed, you can use it to install and launch Nox withuvx:cd sphinx-my-theme uvx nox -s build
The example output:
 nox > Running session build
 nox > Re-using existing virtual environment at .nox/build.
 nox > npm install

 added 153 packages, and audited 154 packages in 877ms

 39 packages are looking for funding
 run `npm fund` for details

 found 0 vulnerabilities
 nox > npm run theme:build

 > theme:build
 > npx tailwindcss -i ./src/sphinx_my_theme/static/styles/input.css -o ./src/sphinx_my_theme/static/styles/output.css


 Rebuilding...

 Done in 157ms.
 nox > python -m pip install 'beautifulsoup4>=4.13.3' 'sphinx>=8.0' myst-parser==4.0.0 linkify-it-py==2.0.3 sphinx-design==0.6.1 sphinx_copybutton==0.5.2 sphinxcontrib.mermaid==1.0.0 sphinx-reredirects==0.1.5 sphinx-sitemap==2.6.0 -e .
 nox > sphinx-build -b html sample_docs/source sample_docs/build/html/en -j auto -T -q -D language=en -t language_en -W
 nox > Session build was successful.
The Nox will handle everything - installing Node.js and Python dependencies, run Node.js and Sphinx build.
Now, open the sample docs with the theme are in
sample_docs/build/index.html.Enjoy.
VS Code setup#
The template comes with improvements to the developer experience when local working in VS Code.
VS Code prompts you to install the recommended extensions from
.vscode/extensions.jsonwhen opened for the first time.Save
.vscode/settings.json.sampleassettings.json.
Local development#
At project root run
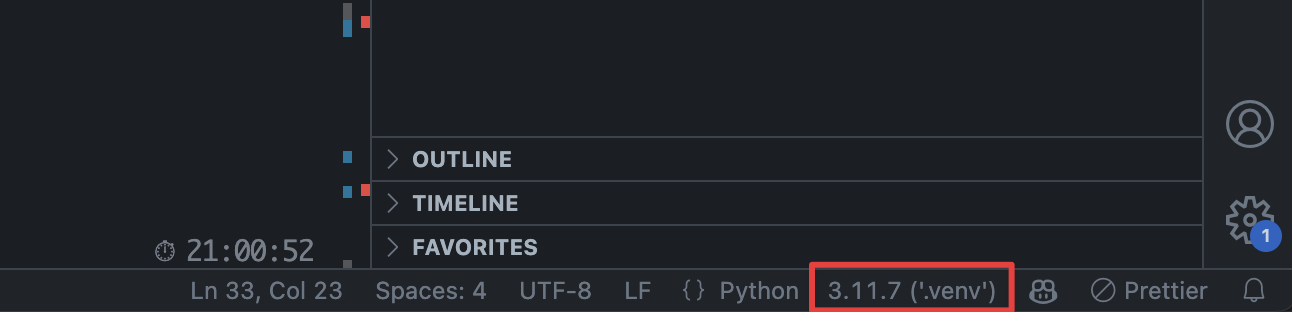
npm ito install Node.js tools for formatting and liting.At project root run
uv sync. This will create virtual environment folder.venv/.In VS Code, virtual environment folder is automatically detected. VS Code asks you to use it. Then it appears in statusbar.